Zoom
Add Zoom meeting links to your appointments and classes. Simplify the scheduling process for one-on-one appointments and group lessons with Zoom integration. Through your Booking Page, neatCal automates the generation of an online meeting link every time a reservation is made. It sends this link to you and your guests.
To connect the Zoom application to your neatCal account, follow the steps below:
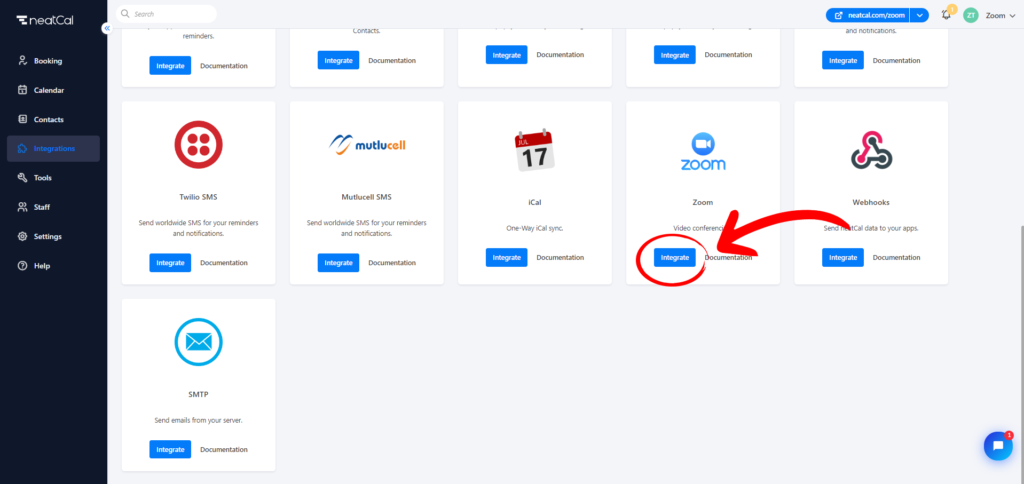
- Step 1: Locate the ‘Zoom‘ application on the Integrations page, then click the ‘Integrate‘ button.
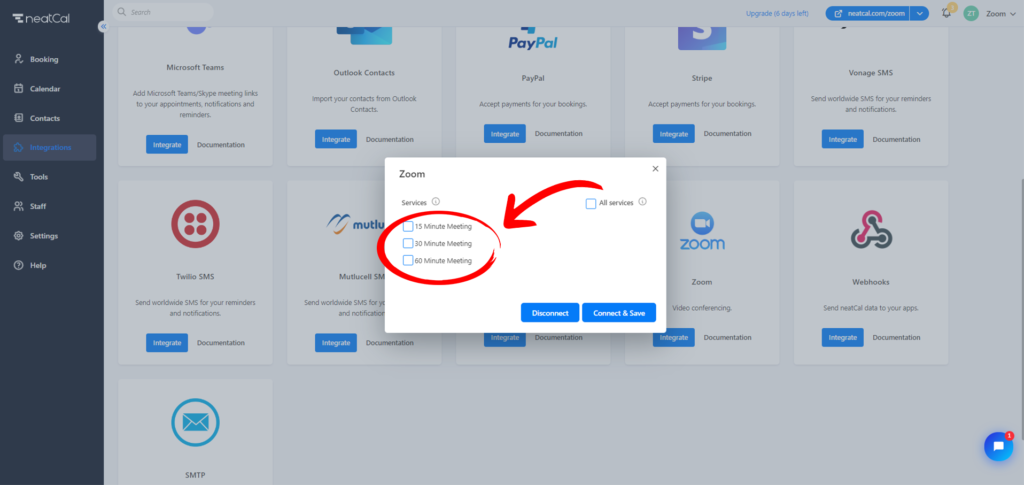
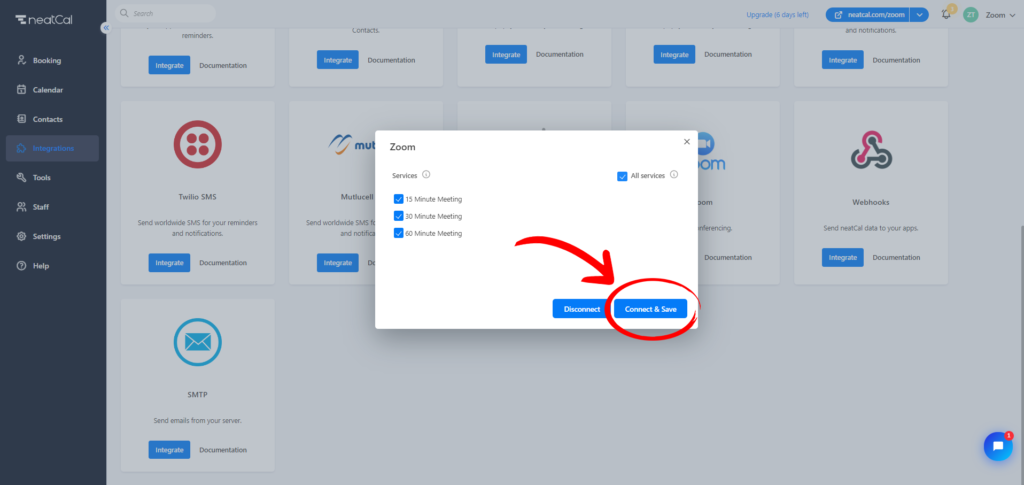
- Step 2: A pop-up window will appear. Here, you need to select the services where you want to add the Zoom application. After selecting your services, click the ‘Connect & Save‘ button.
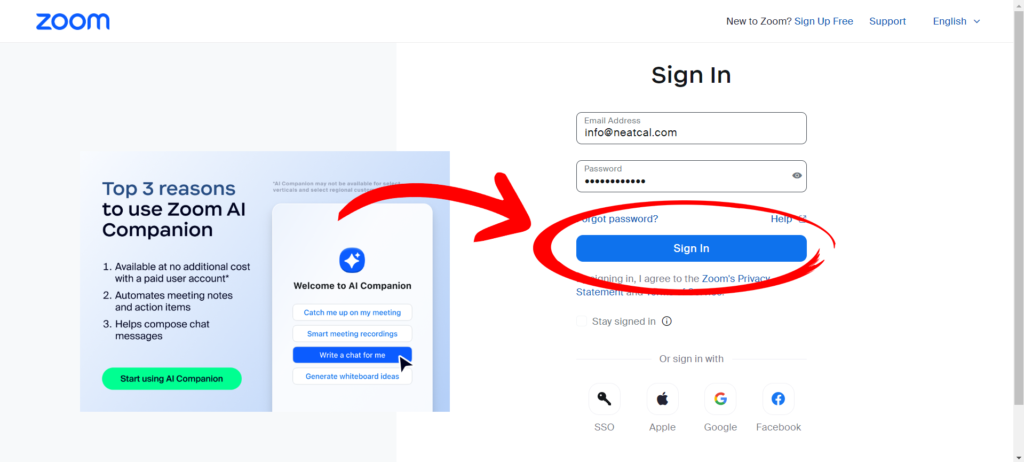
- Step 3: Your web browser will open a new tab. On the opened Zoom page, log in to your preferred Zoom account.
- Step 4: As the final step, you will see a screen informing you that you are about to add your account to Zoom. Once you are sure about the account you want to integrate, click the ‘Allow‘ button.
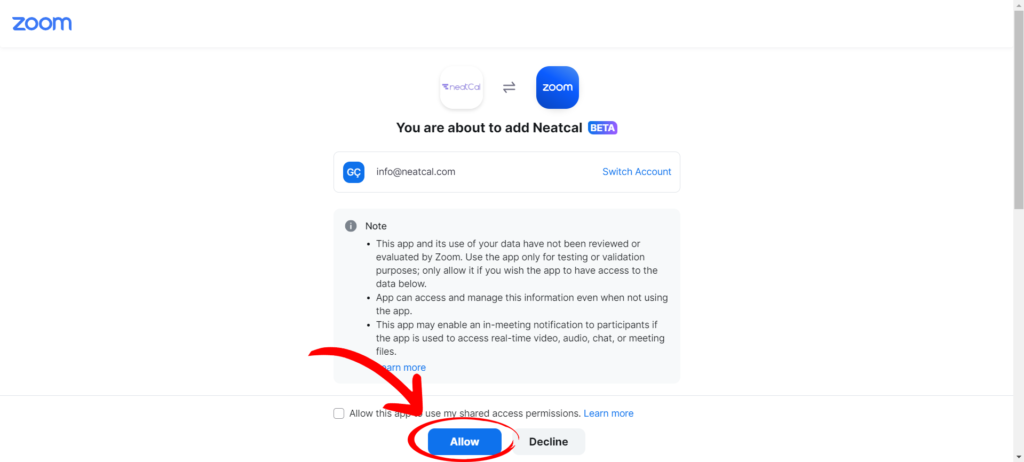
You are now ready to conduct video conferences with your customers. Your Zoom link will automatically be included in both your notification email and your customers’ notification email.
How can I remove the Zoom integration?
On the Integrations page, find the ‘Zoom’ application and then click the ‘Integrate’ button. Click the ‘Disconnect’ button located under your services in the opened window.
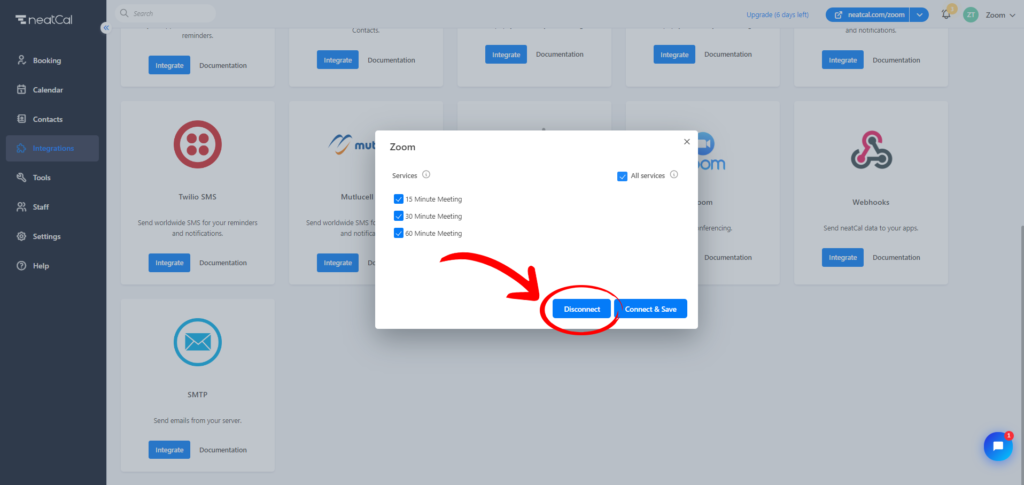
After clicking this button, the Zoom integration window will refresh and open again, showing that your services are not selected. This means that your Zoom connection has been disconnected.