Customize Your Business Details
One of the first things you need to do after registering for neatCal is to fill in your business information. This information will provide important details about your organization to customers on your Booking Page, such as your contact information, default currency, website, and social media links.
You can add or edit your business details with a few simple clicks. Follow the steps below to customize your basic business information:
Setting Up Business Information
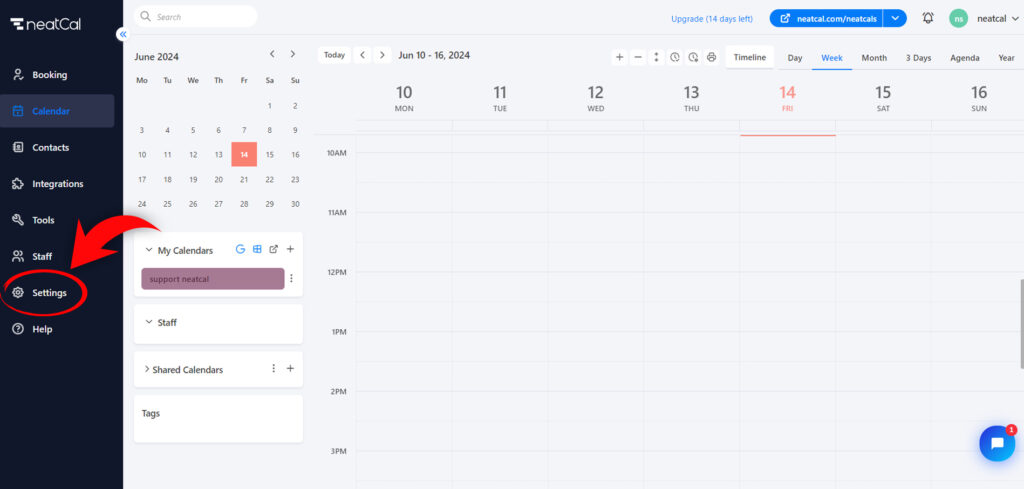
Step 1: After logging into the neatCal Admin page, go to the menu on the left and click on the ‘Settings’ option.
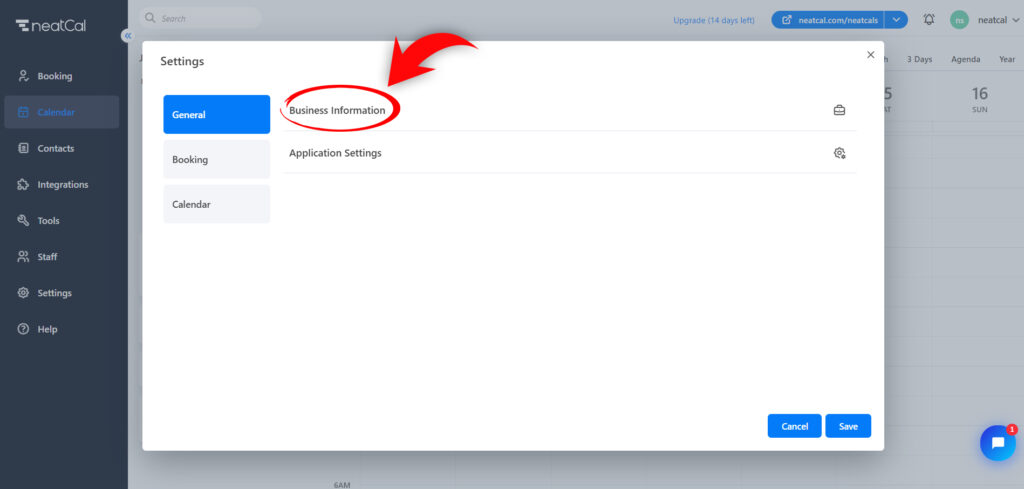
Step 2: In the Settings window, click on the ‘General’ tab and then select ‘Business Information’.
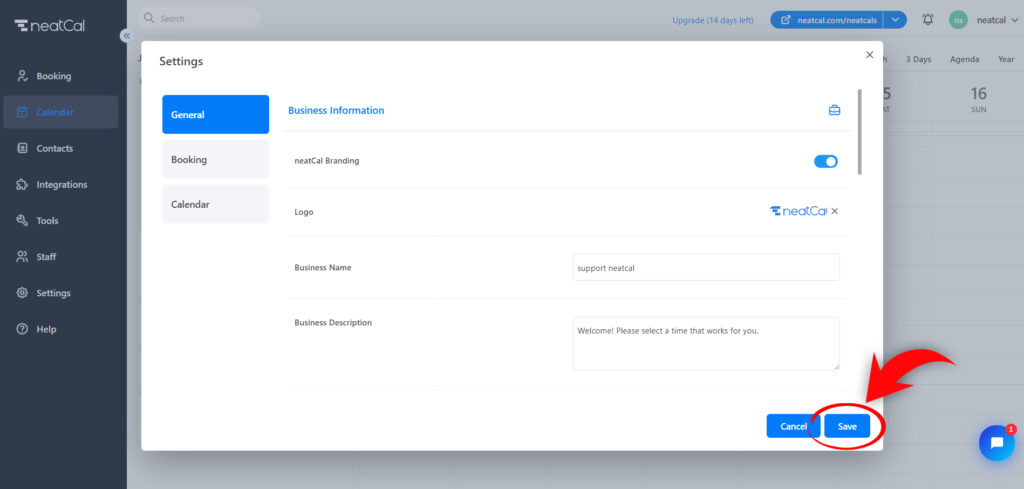
Step 3: In the Business Information section, you can easily fill in the necessary details such as your company name, description, address, phone number, and social media accounts as you wish. If available, you can also add your logo image. Don’t forget to click the ‘Save’ button after filling out these sections.
Application Settings
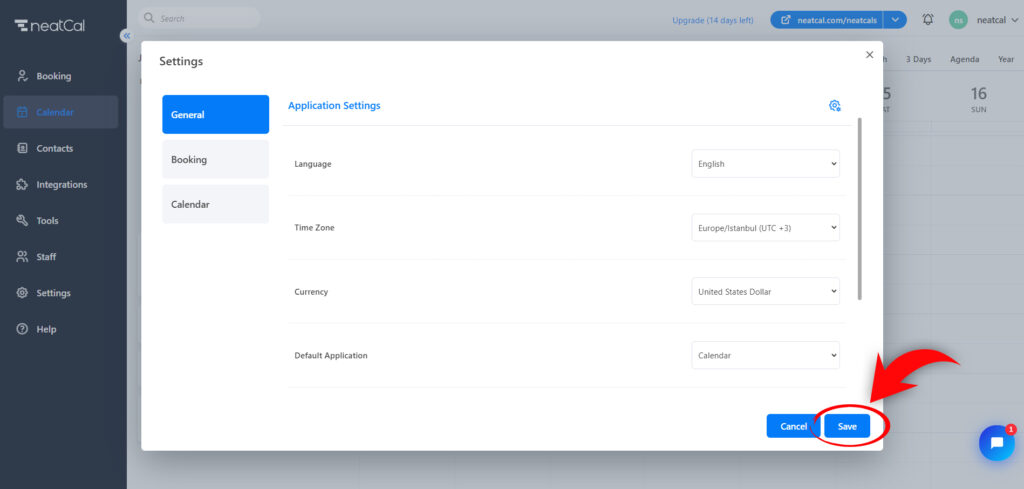
Step 1: To edit the settings of the neatCal application, click on ‘Application Settings’.
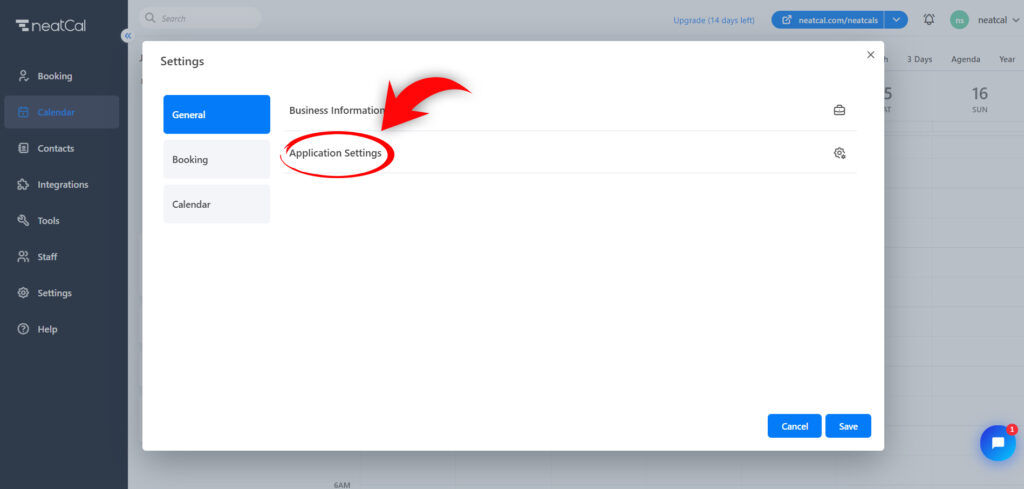
Step 2: In the ‘Application Settings’ section, you can configure your account’s language, time zone, currency for ease of payment, default application settings, and customize your theme color. After customizing these settings, don’t forget to click the ‘Save’ button.
